
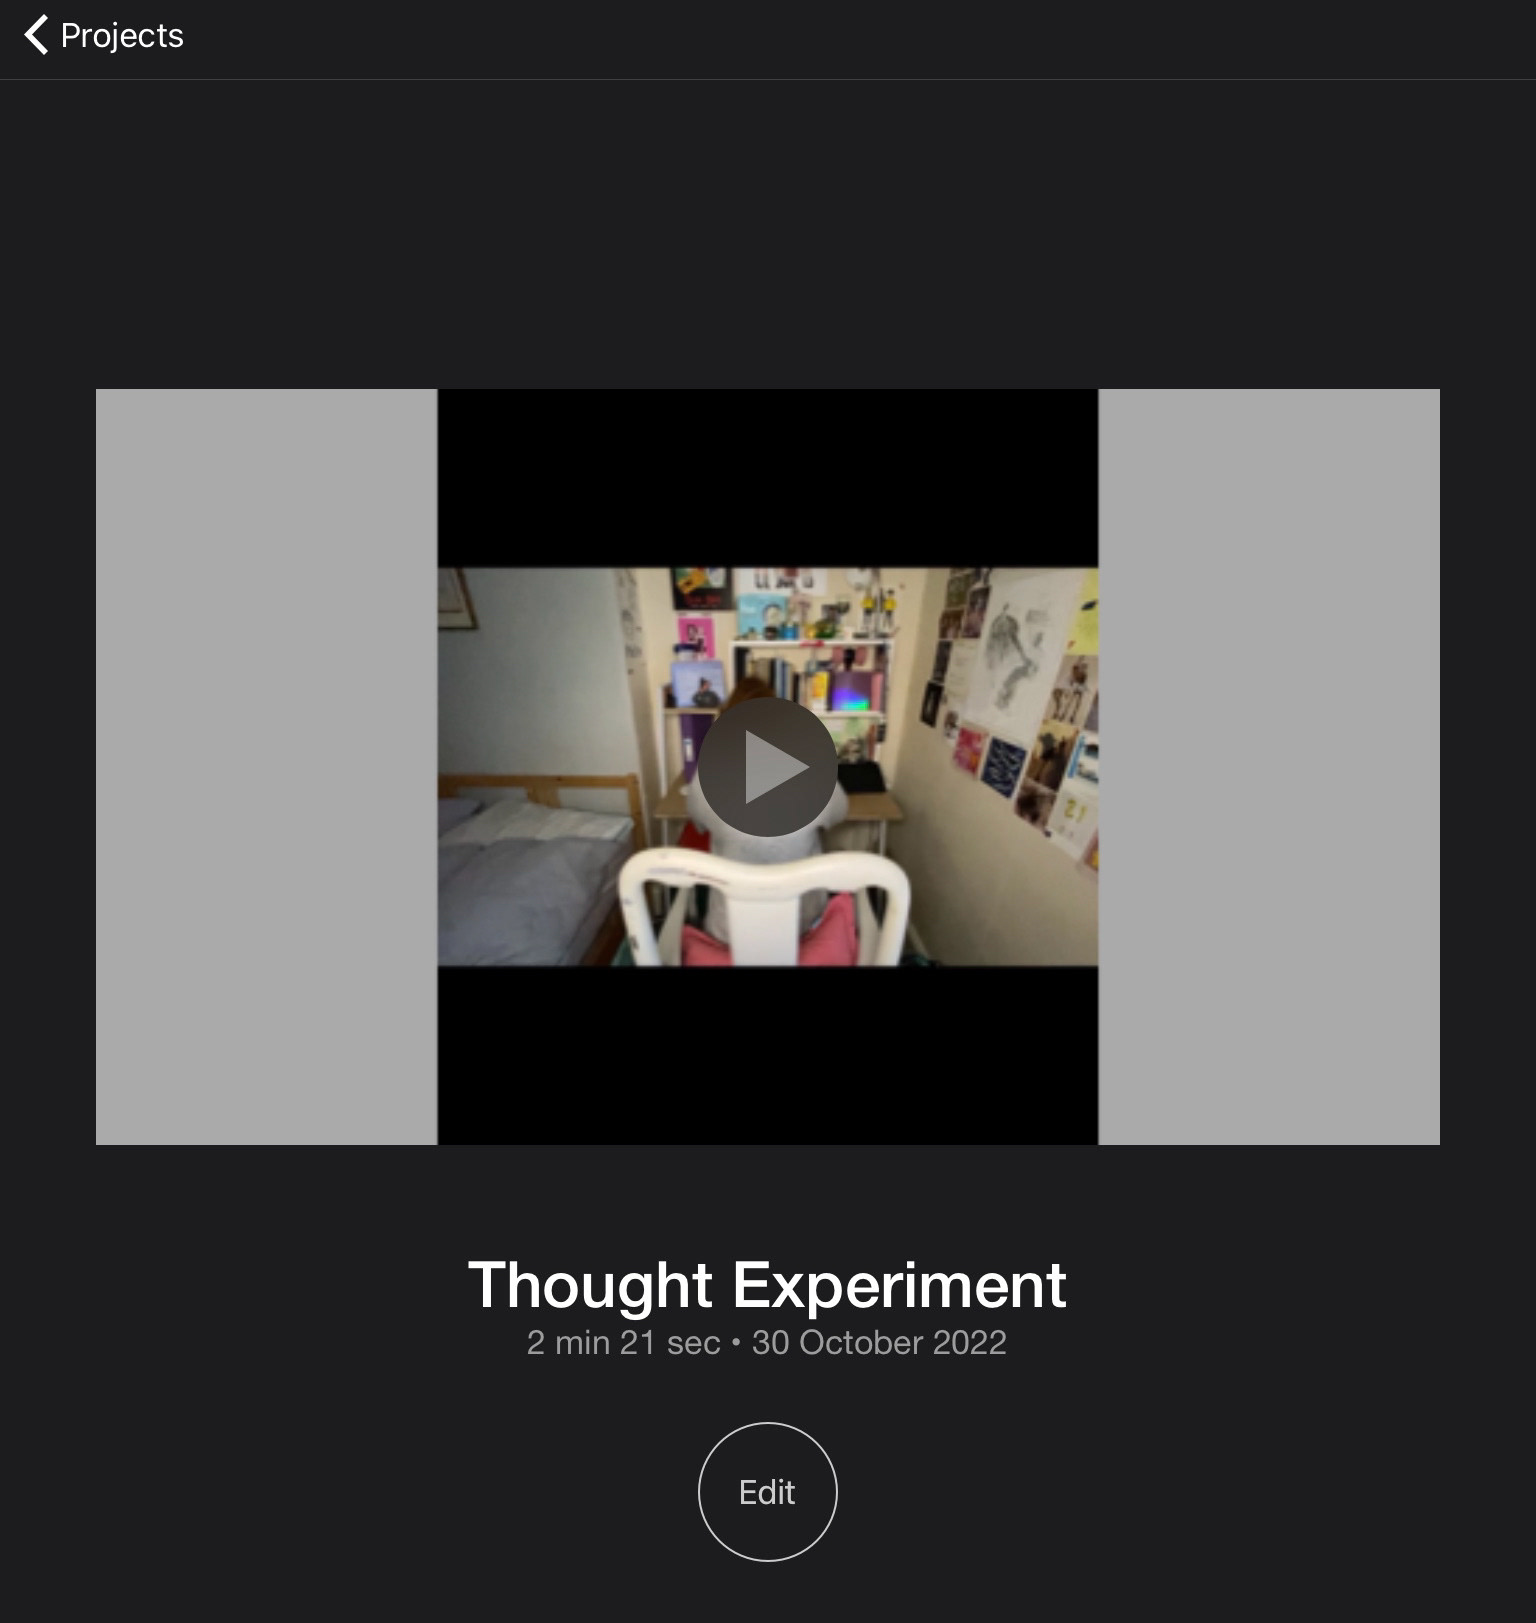
Screenshot of original thumbnail
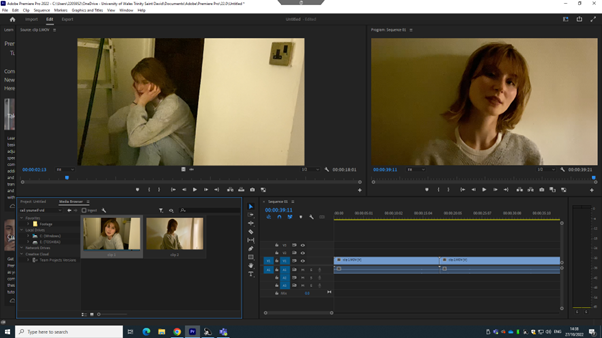
I started editing on Adobe Premier Pro. For now I'm just adding all the clips together, then I'm going to cut the bits I don't want and add the voice overs. Finally I'm going to play around with the colour filters to add some depth to the clips.
Screenshot of voice overs - the ones that say 'Gi' is my friend calling my name. It brings a sense of coming 'me' back to reality.
I took these on the voice recorder app on my iPhone.
New idea: Re-do voice overs in French and add subtitles. I thought it would be fun to play with language a little. Despite most of the video is just my name being called out, It's still going to have a French accent ! Subtitles will be used at the end when I say 'Yes, I'm coming' (Oui, J'arrive'.

I've never used any video editing software so it's definitely going to be a challenge for me. here's also Final Cut and iMovie that I'm going to try out. All softwares I've never tried~! So I'm really hoping it turns out well. I'm so used to drawing characters that I'm finding it hard coming out of my comfort zone. This task is definitely pushing me to my limits and I'm glad I'm trying something new.
First scene: The zooming out didn't work with what I had in mind so I screen recorded me playing with the video itself and made it go backwards instead. Makes the audience concentrate on what I'm doing
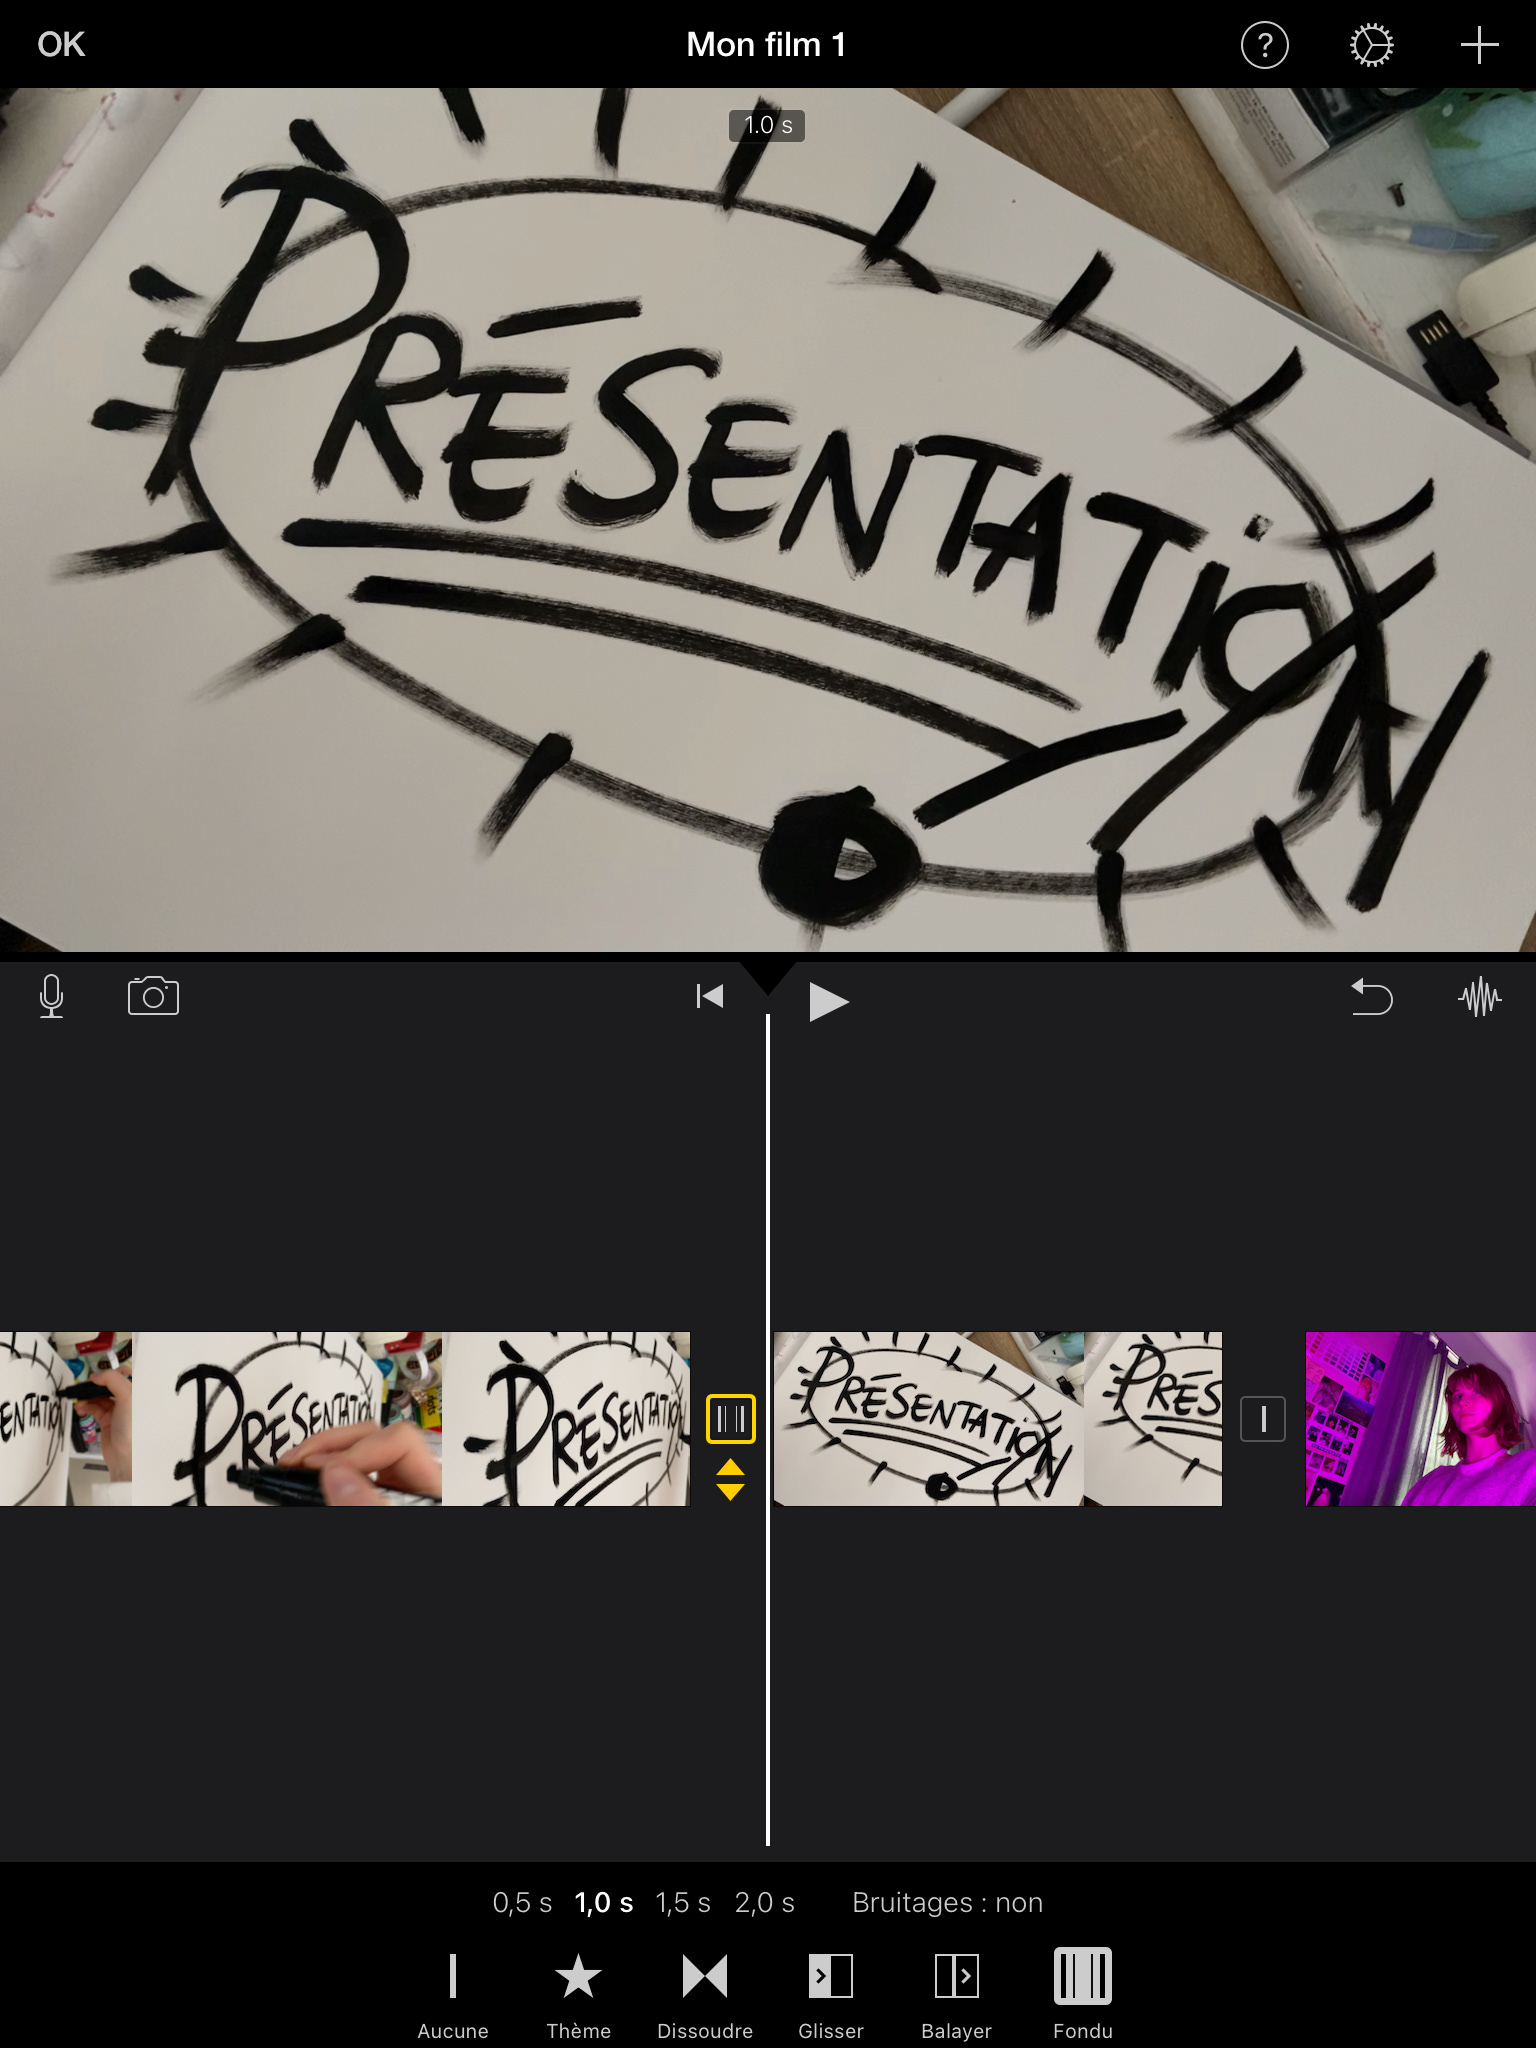
Writing 'Présentation' in my sketchbook. The small yellow box indicates how I want to move onto the next scene. The lines mean fade

Me writing my name over and over again in sharpie
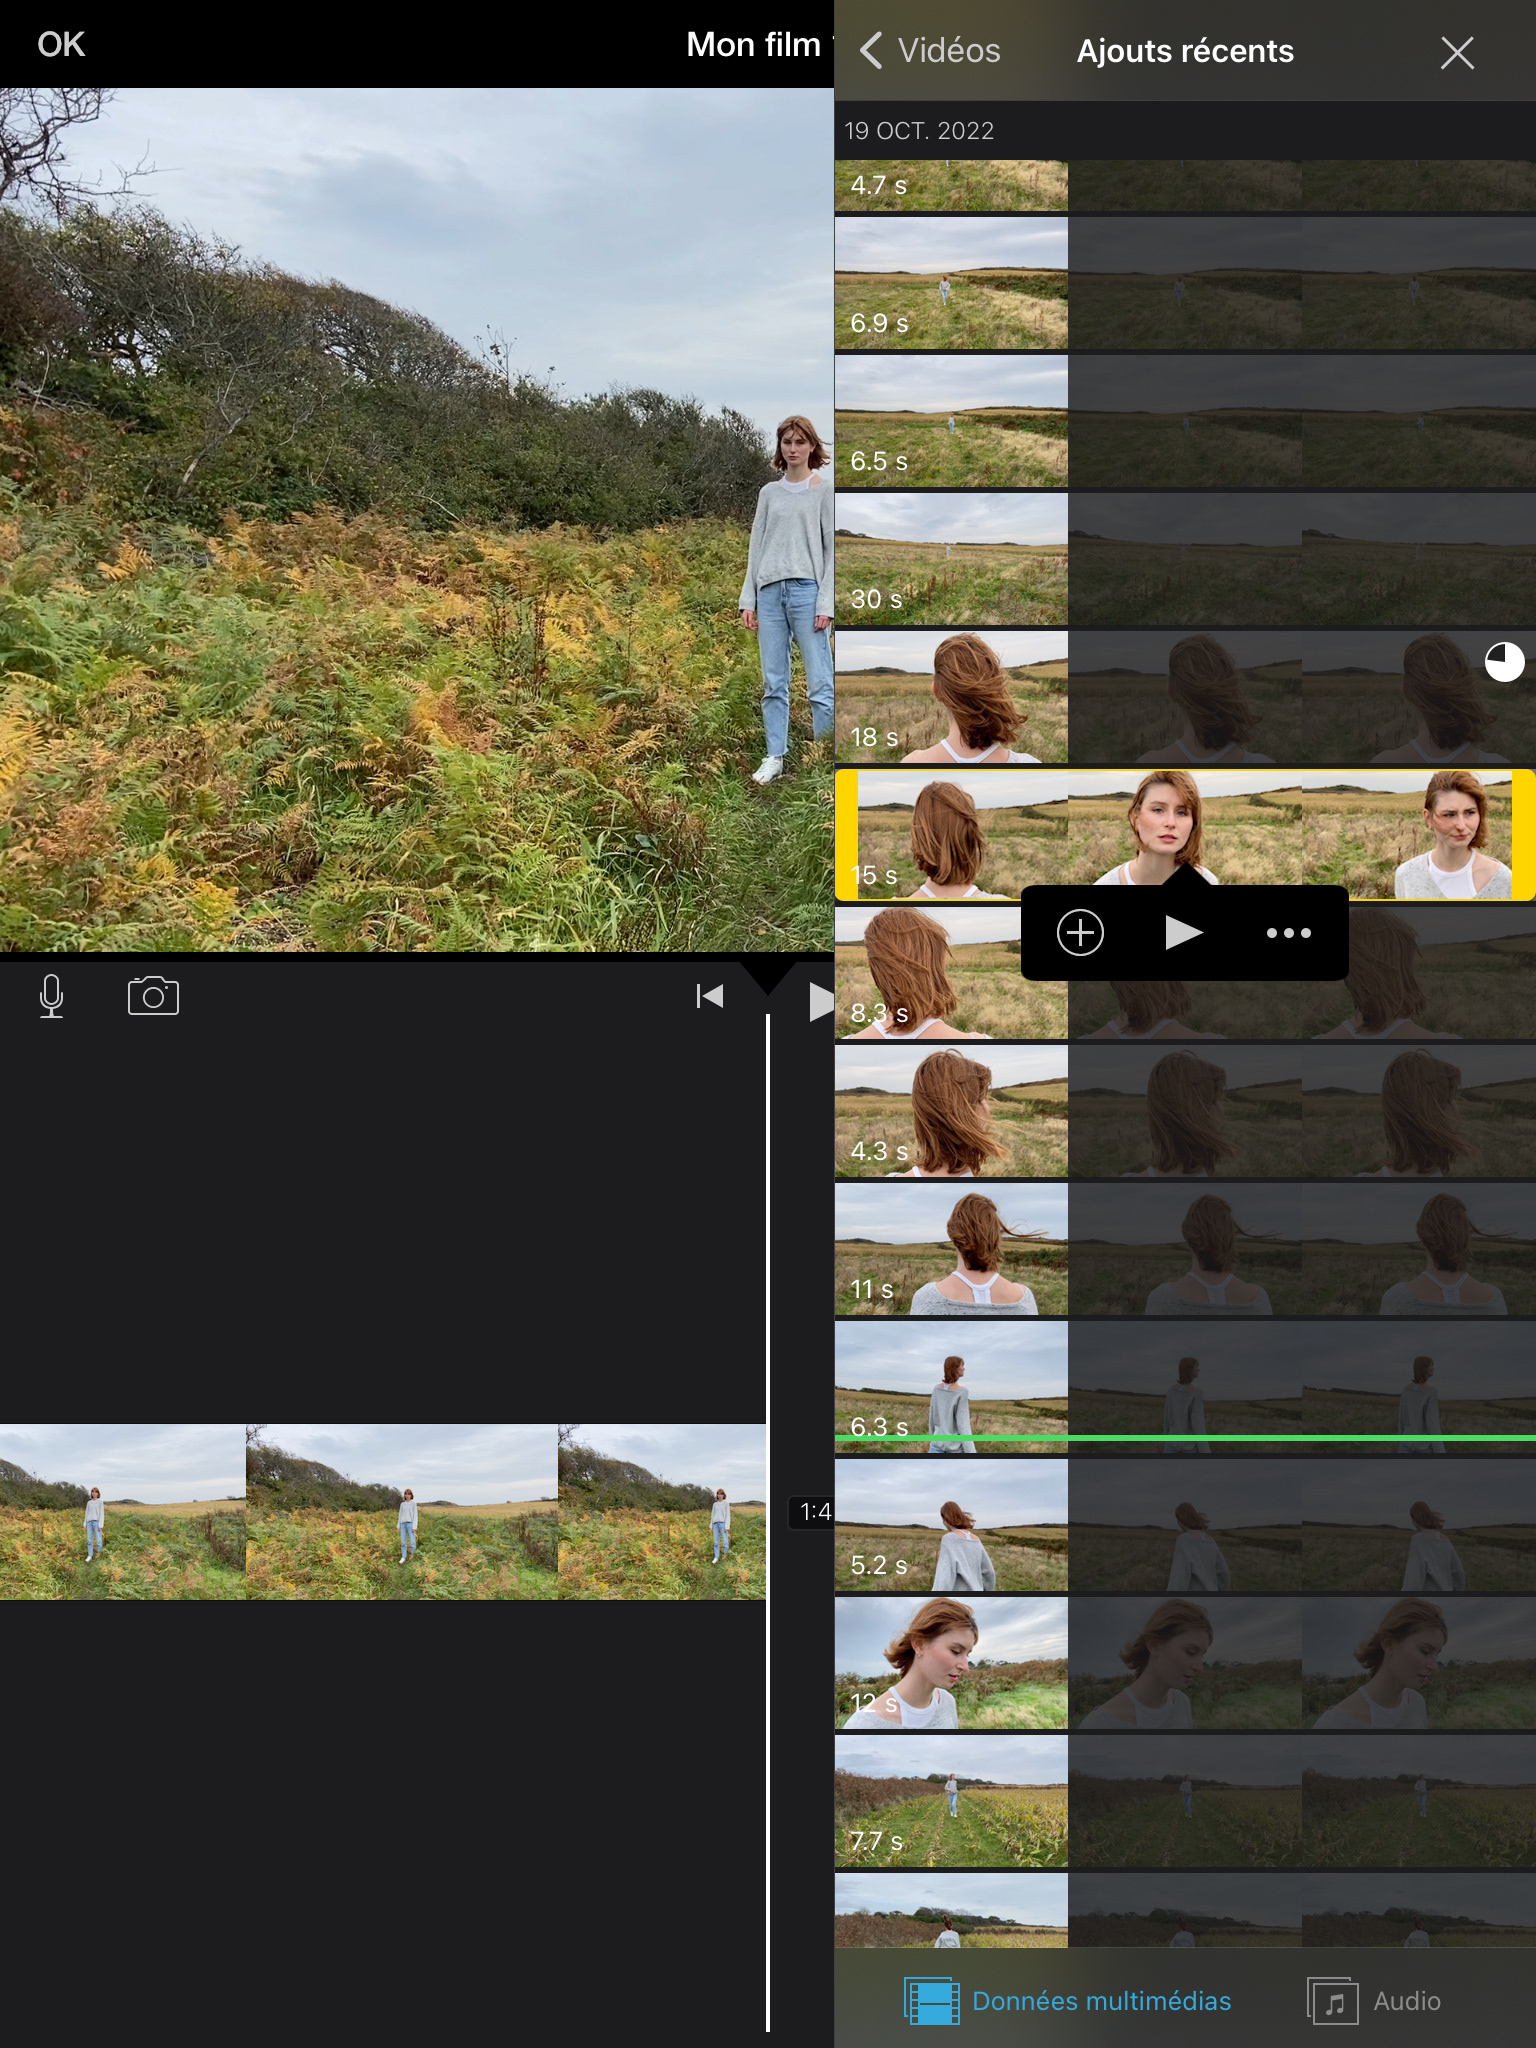
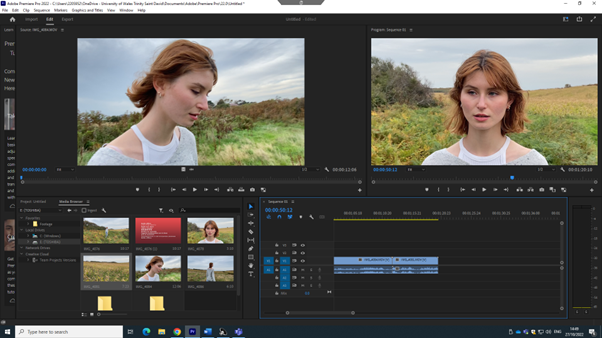
Adding the field scene: Press the + to add
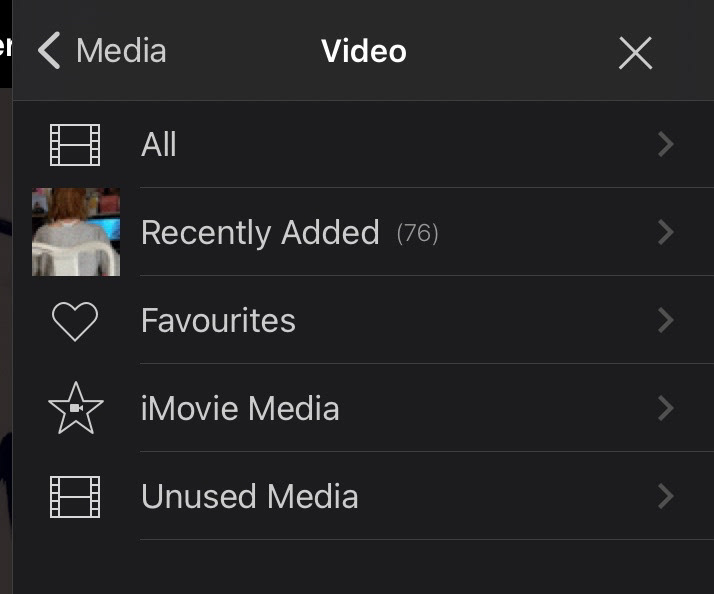
Media
Editing - video
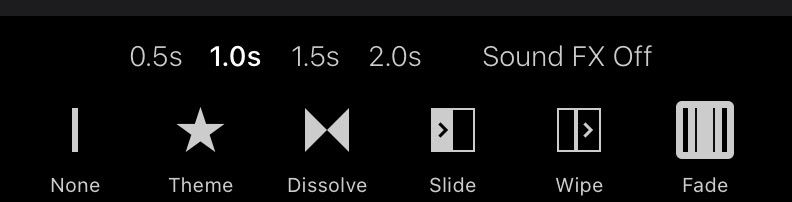
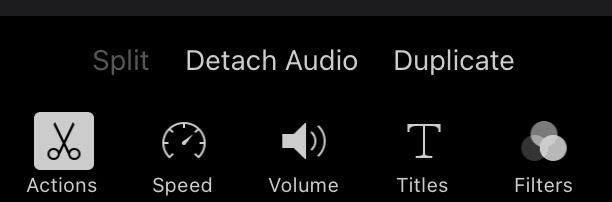
Editing: Transitions
I checked out Matthew Pullen's Youtube video explaining how to use overlays on iMovie.
Available here: https://www.youtube.com/watch?v=JgMqwDY1HqY&ab_channel=MathewPullen
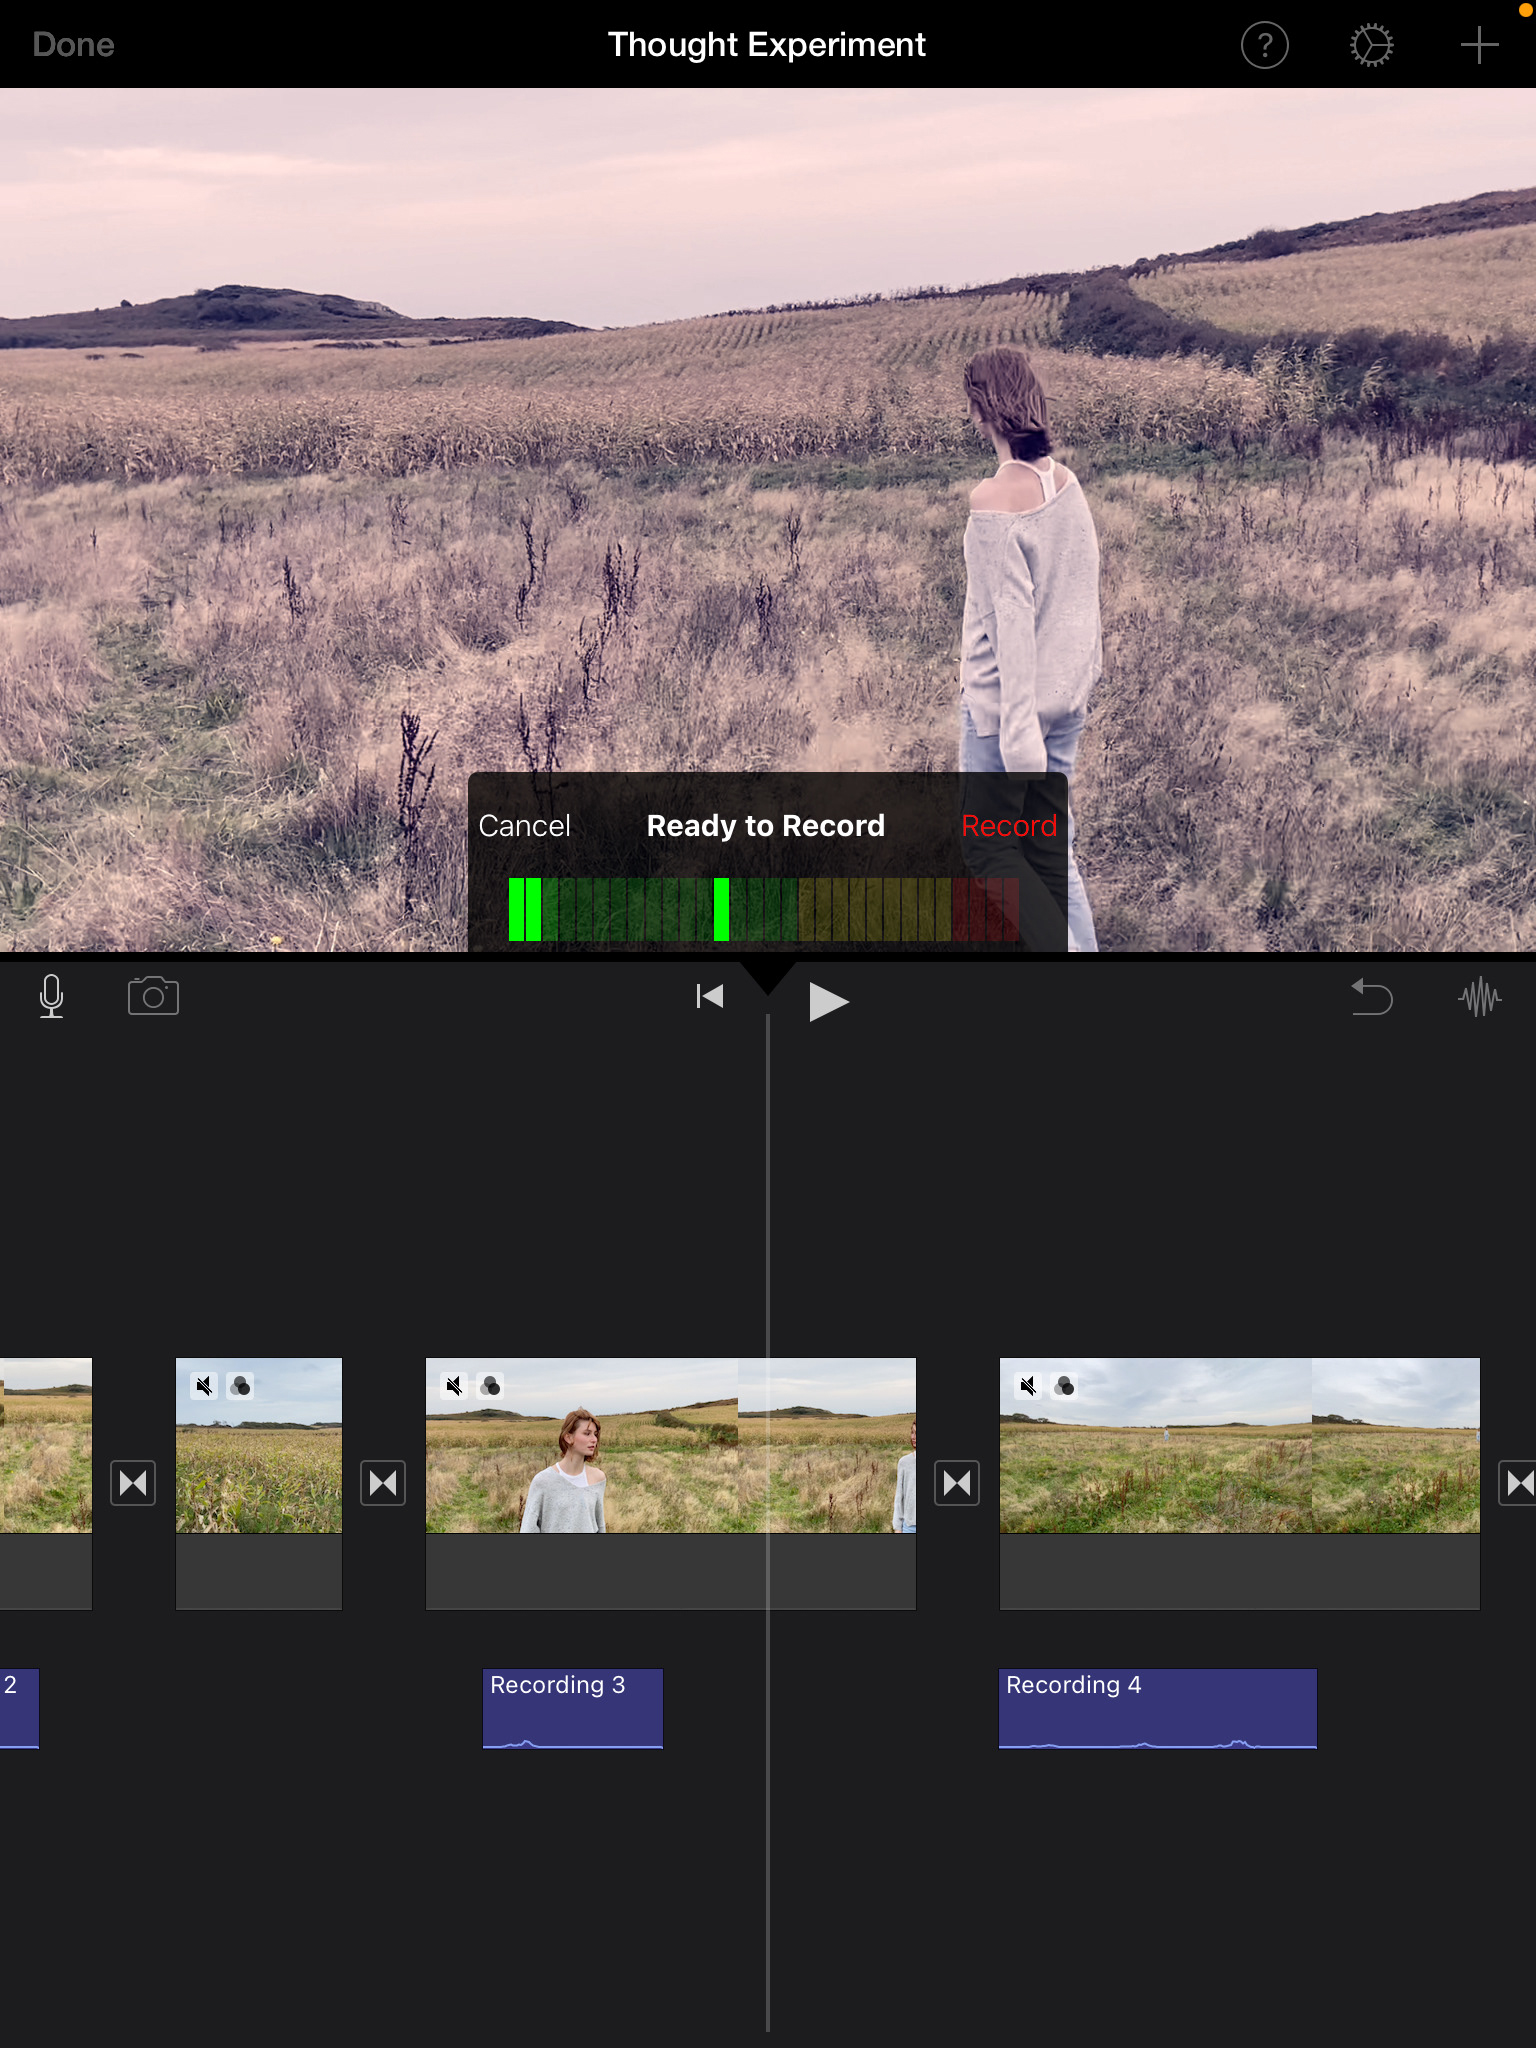
Instead of using a voice recording app, I realised I could do voice overs directly on iMovie - which made things easier for me.
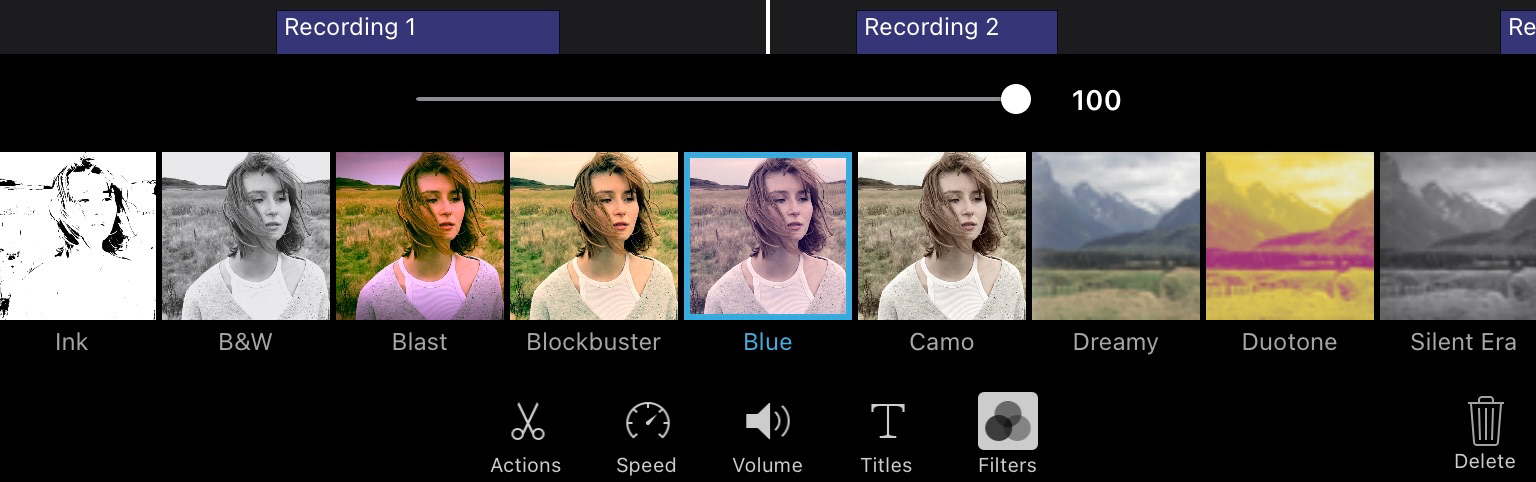
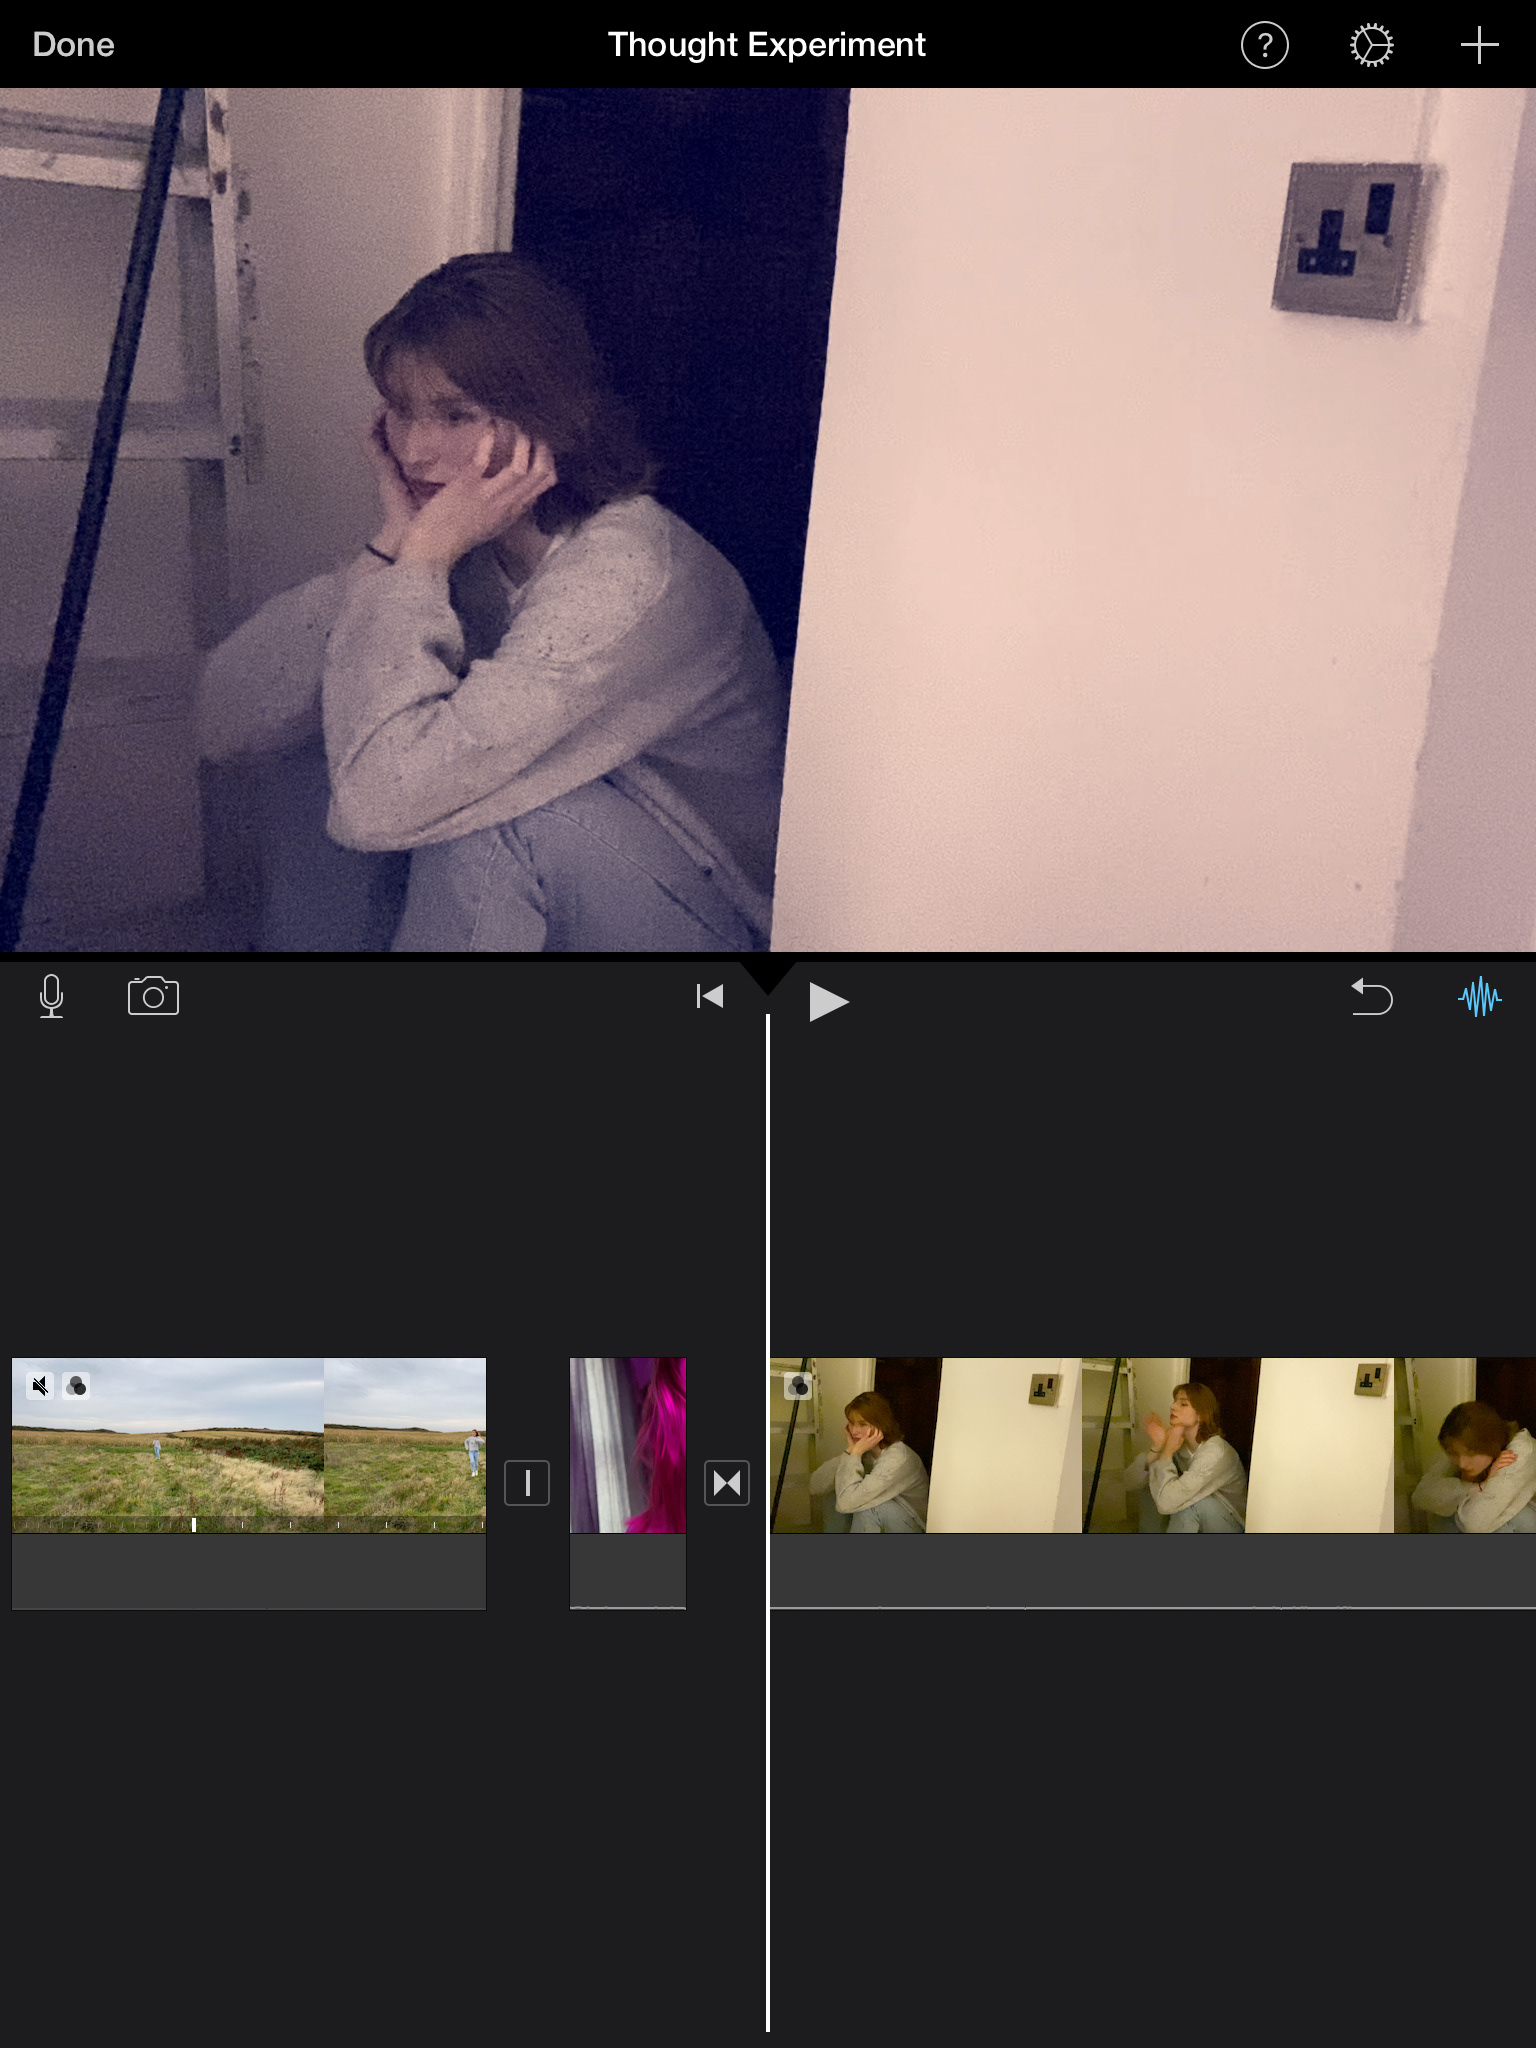
Choosing the filter! I chose the blue one to keep it on theme. I do wish it was brighter but that was the maximum amount I could use.
Update: I decided to use the blue filter only during the dream sequence and have no filter during the first and last scenes just to give it a sense of reality.
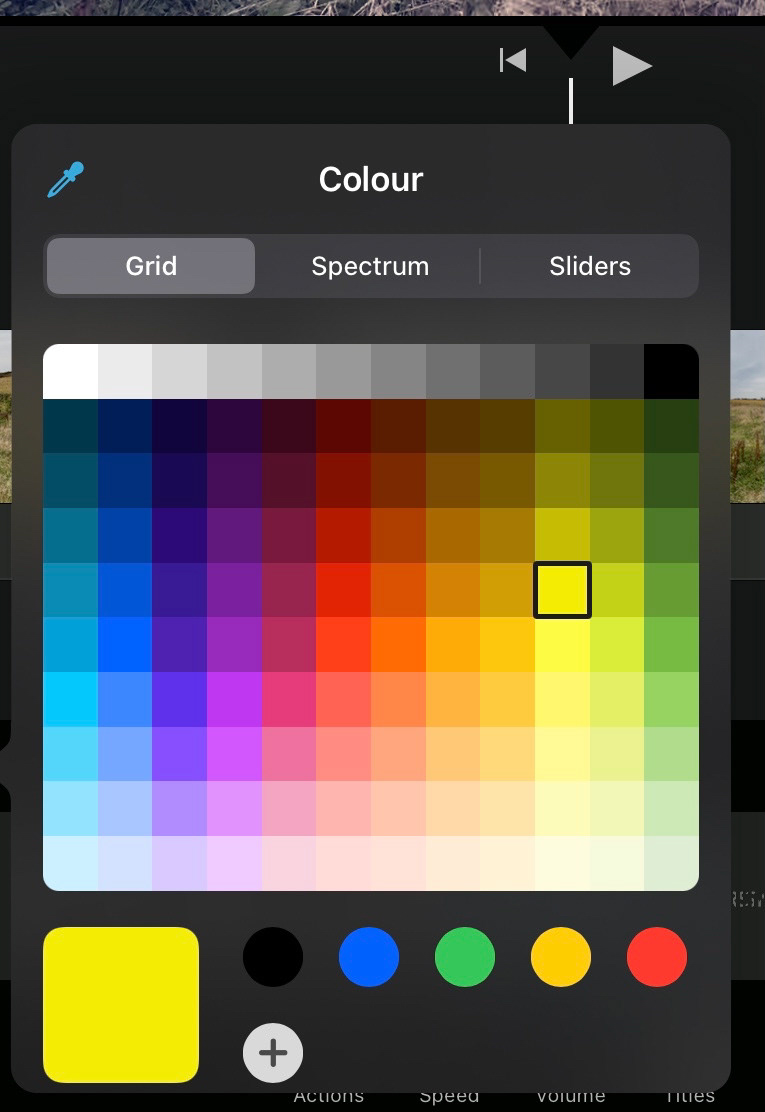
Picking a colour for the subtitles
Why yellow? It's easier to read against varied backgrounds. It is often used for movies because it has the highest refractive index, making it seen easily from a distance.
I was going to use white but iMovie didn't give me many editing options to make it legible so yellow was the best option.
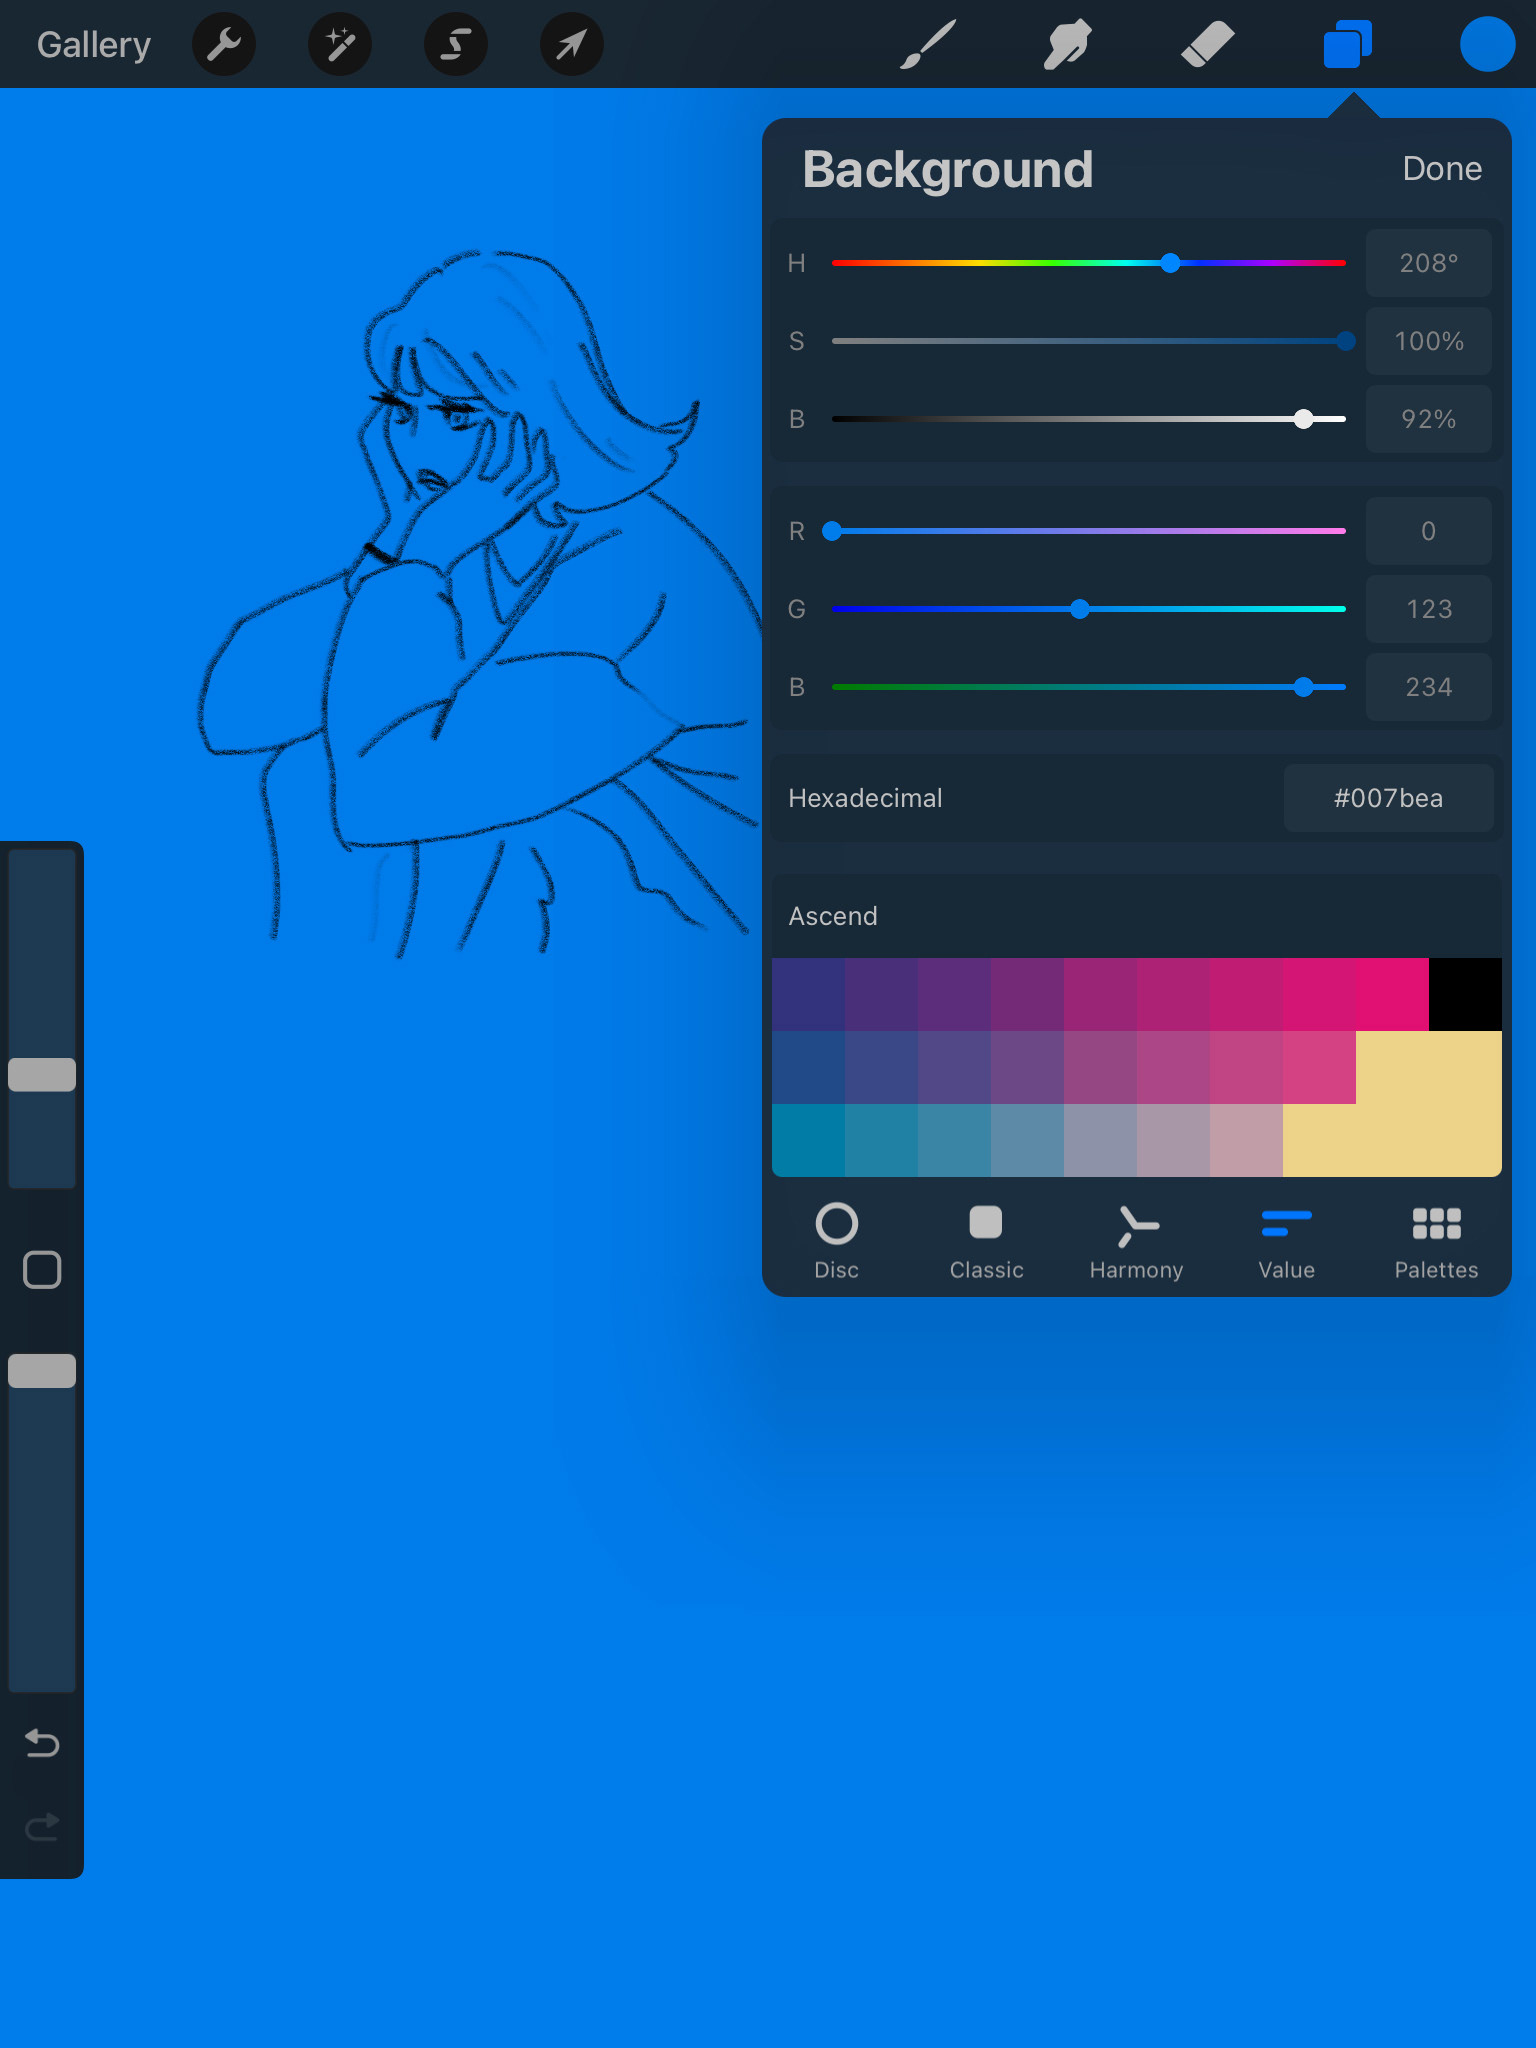
Some more artwork.
I couldn't figure out how to do a good transition from the shocked face to me sitting so I did a quick sketch of me sitting in between each scene.
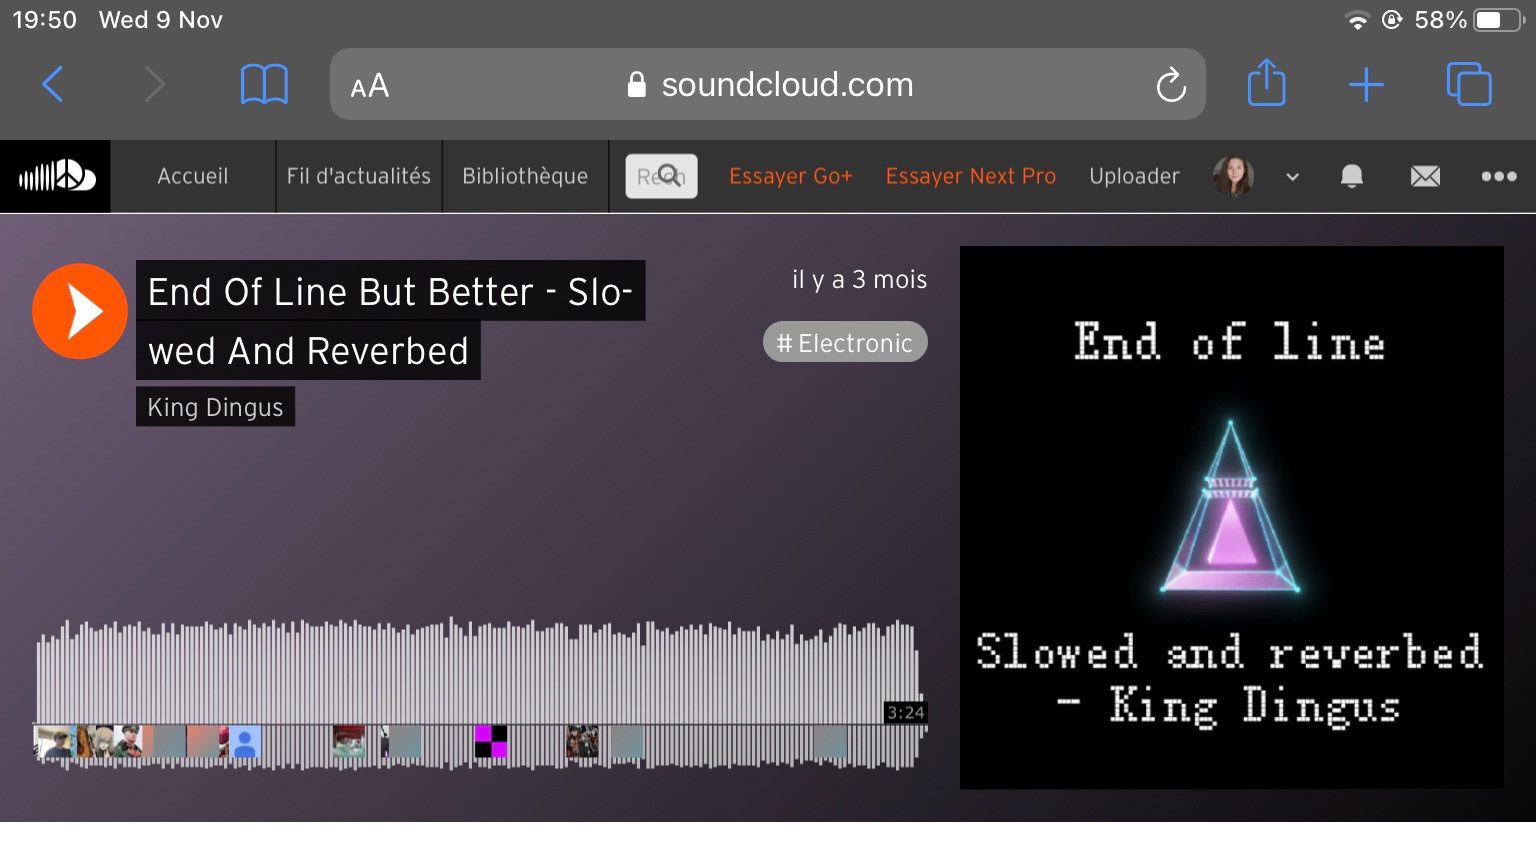
I decided it would be best to add some music over the video to avoid awkward silence. In the end I went with a remix of Daft Punk's 'End of Line' used in the TRON: Legacy movie. I thought the sound went pretty well with what I had produced. Gives it a weird feeling.
Screenshot of the sound cloud version I found.
Unfortunately had to screen record due to there being no download button. I also tried on Youtube but it wouldn't let me download into my files.